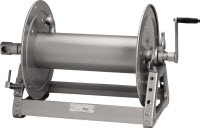
A hose reel is a necessary piece of equipment for most spray technicians. With many hose reels available on the market, what are the top things to look at when choosing which hose reel to purchase? Consider these 4 factors:
Sprayer Depot Blog
Marketing Manager
Recent Posts
Topics: Hose Reel, Hose Reels, Spray Hose, Sprayer Hose, Industrial Spray Hose
Topics: Sprayer Depot, Sprayer Parts, Kings Sprayers
- A wrench
- A screwdriver
- ½” socket
- 11/16” socket
- Loosen the bolts on one of the 3 head assemblies
- Remove the head assembly
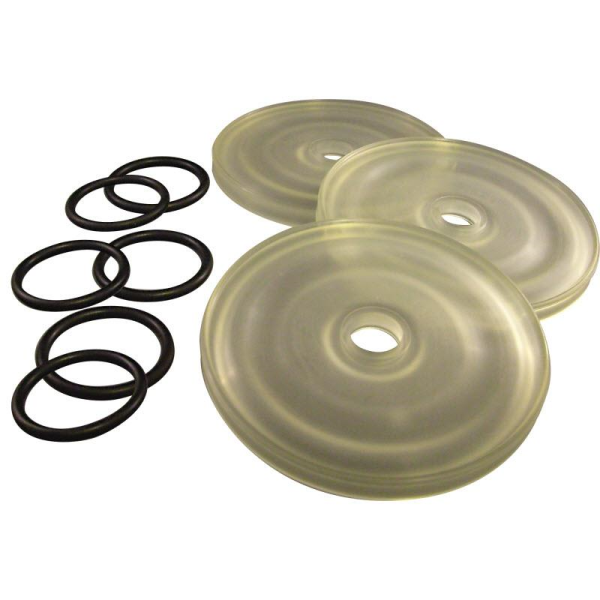
- Remove the diaphragm, nut, and washer
- Remove the diaphragm
- Remove the sleeve, and drain the internal oil
- Loosen the bolts on the 2nd head assembly
- Remove the head assembly
- Remove the diaphragm, nut, and washer
- Remove the diaphragm
- Remove the diaphragm sleeve
- Repeat this process on the remaining head
- Clean the inside of the pump with carb or brake cleaner
- Replace the sleeve, lining up the holes on the sleeve with the holes on the piston
- The diaphragm has a beveled side; this side will be pointing out
- Replace the diaphragm, nut, and washer; tighten with a wrench
- On each side of the 3 outer head assemblies remove the inside of the valve cage, replace the spring, small seat (beveled side down), and large metal seat
- Place the valve assembly back onto the head and replace the O-ring with a new one
- The other side has the same pieces in the opposite order
- Replace the spring, seat, and large seat
- Replace the O-ring with a new one
- Repeat this process on all 3 head assemblies
- Replace the head assembly
- Tighten the assembly skipping bolts in a clockwise pattern to evenly tighten
- Replace the piston sleeve on the 2nd side
- Replace the diaphragm with the beveled side out
- Replace the diaphragm, washer, and nut; tighten with a wrench
- Replace the 2nd head assembly, tightening the bolts with a wrench
- Using non-detergent 40W pump oil; fill the open side of the pump to the brim
- Replace the final piston sleeve, lining up the holes with the piston
- Clean off excess oil Replace the final diaphragm
- Replace the diaphragm, washer, and nut; tighten with a wrench
- Replace the final head
Topics: Udor Kappa 43 Diaphragm Repair Kit, Udor Kappa 43 Repair, Udor Kappa 43/GR, Diaphragm Pump Repair Kit

.png?width=280&name=SameDayShippingGuarantee-New%20(1).png)


