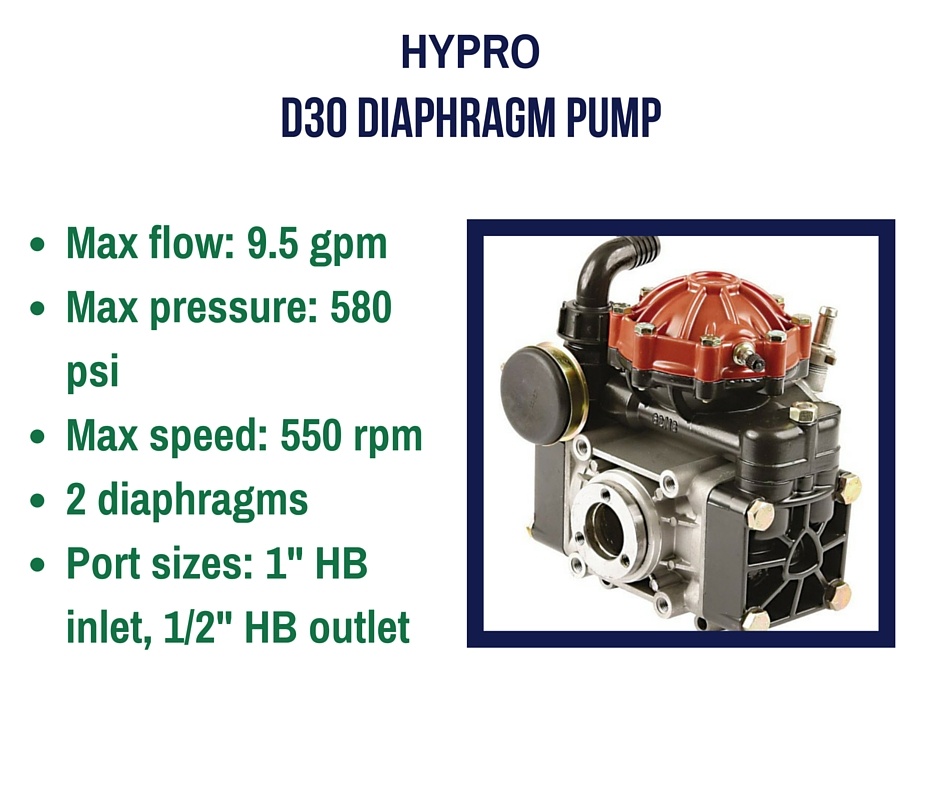
Hypro diaphragm pumps are recommended for spraying herbicides, pesticides, liquid fertilizers, and many other hard-to-handle fluids. The Hypro D30 is one of Hypro's most popular medium pressure diaphragm pumps. Its low cost maintenance, and almost wear-free operation help make it the ideal choice for a wide variety of spraying jobs. This is definitely one of our top selling pumps, and the preferred choice for several of our small to medium-sized Kings Sprayers® models.
Interested in learning more? Let's look at the specs on this pump!

Need to control the pressure?
You can mount a control unit (also known as a regulator) on this pump for easy flow and pressure control of your sprayer system. Hypro GS40GI is a popular control unit companion for the D30. Installation is easy and we'll gladly mount it for you. Just let one of our friendly Customer Service Technicians know what you need.
Prefer to install it yourself? Follow these simple steps for direct mounting onto the pump:
-
Locate the discharge flange port on the discharge manifold
-
Using a 13 mm wrench, remove the nuts holding the flange manifold
-
Remove the o-ring from the groove of the flange and install into the control unit flange
-
Install the control unit onto the manifold where the discharge port had been previously
-
Use the nuts previously removed to secure the control unit
-
Install the hose barb outlets onto the control unit, making sure the o-rings are in place on the hose barbs
To repair a Hypro GS40GI unit, you will need the following tools:
-
A hook
-
A pick
-
A ½ inch socket
Now let's get started!
-
 Using a ½ inch socket, loosen the 2 bolts that hold the regulator housing
 -
Remove the regulator housing
-
Push out the valve stem with your fingers, releasing the 3 pieces
-
Using a pick, remove the popit
-
Using a hook, remove the revealed O-ring and plastic rubber seat
-
Remove the metal seat
-
Replace the popit
-
You may need to use a pick to push in (around the edges)
-
Replace the plastic seat with the flat side going in first
-
The seat should be flush to the metal inside
-
Replace the O-ring, install the chrome piece and spring
-
There are 2 parts to the copper side; the larger side should be installed facing the top of the regulator
-
Replace the metal seat
-
Replace the regulator
-
Tighten the bolts using a ½ inch socket
Need visuals? Check out this repair on our Instructional Video below:
*Kit includes 1 Relief Valve Poppet Retainer, 1 Tension Spring Guide, 1 Tension Spring, 1 Relief Valve Seat, 1 Gasket Seal O-Ring, 1 Spring Holder.

.png?width=280&name=SameDayShippingGuarantee-New%20(1).png)


