On our last blog, we shared a comprehensive Sprayer Maintenance Seasonal Checklist to help you keep track of  your spray equipment's maintenance requirements. We often focus on the tank, strainer and pump more than anything else when it comes to maintenance, however, the engine also needs some TLC.
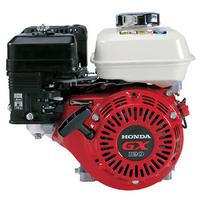
Here at Sprayer Depot we get plenty of questions regarding equipment care, and a common question is "How often should I change the engine oil?" As always, we recommend to follow manufacturer recommendations. To help you stay on top of your equipment's maintenance, we've written down a quick how-to on changing the oil on some of our most popular commercial engines, the Honda Engine Models GX120 and GX160.
Honda recommends changing the oil after 100 hours or every 6 months, whichever comes first. Honda also recommends 4-stroke oil or an equivalent high-detergent, premium quality motor oil certified to meet or exceed U.S. automobile manufacturer's requirements for Service Classification SG.SF/CC.CD.
Before performing any type of maintenance make sure the engine has been shut off and drain the oil while the engine is still warm to assure rapid and complete draining.
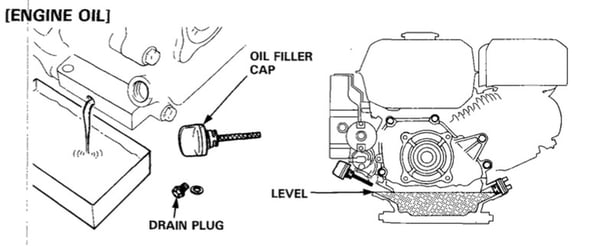
Now that we have that covered, let’s talk about the four steps to changing the oil in your Honda Engine GX120 - GX160
Step 1. Remove the oil filler cap and drain plug to drain the oil.
Step 2. Install the drain plug and tighten it securely.
Step 3. Refill with the recommended SAE 10W-30* and check oil level.
Step 4. Install the oil filler cap.
A few things to note:
- Do not use non-detergent oils or vegetable oils as they are not recommended
- Be sure to check the engine on a level surface with the engine off
- Make sure to thoroughly wash your hands with soap and water after handling motor oil


.png?width=280&name=SameDayShippingGuarantee-New%20(1).png)


