.png?width=280&name=SameDayShippingGuarantee-New%20(1).png "Same-Day-Shipping-Sprayer-Depot")


Summer is the busiest time of year for many of our customers. It's the height of the spray season which means the team here at Sprayer Depot is hard at work to make sure our customers get what they need.
Read More
Summer is the busiest time of year for many of our customers. It's the height of the spray season which means the team here at Sprayer Depot is hard at work to make sure our customers get what they need.
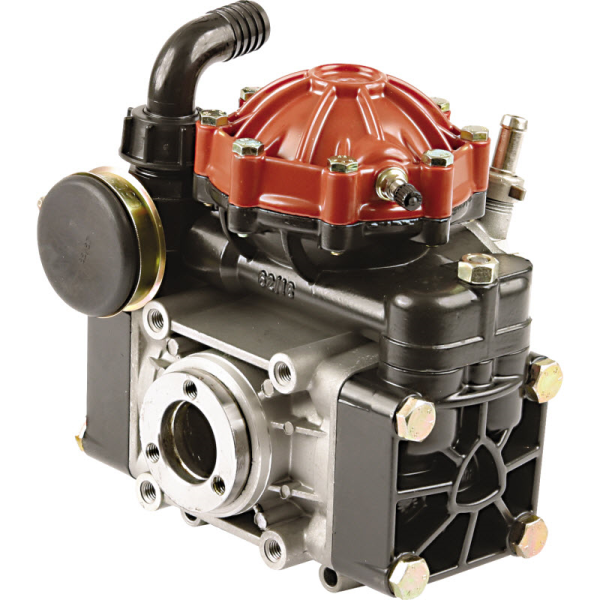
Read MoreTopics: Diapgragm pumps, JD9 Spray Gun, Hypro D30 Pump, Greensmaster Spray Gun, high pressure spray hose
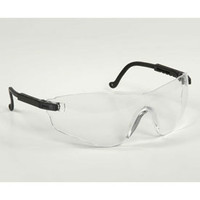
Personal Protective Equipment (PPE) keeps professional spray applicators safe from chemical exposure and other job hazards. Here are five reasons why it's important to never be without the right protective gear:
Read MoreTopics: lawn sprayer, JD9 Spray Gun, Greensmaster Spray Gun, PPE
Last week we talked about our recent Repair and Service Department expansion. We are so proud of being able to offer our customers even more options when it comes to repairs and maintenance on all of your spray equipment, parts and accessories.
However, we also understand that there are some repairs that are easy enough to take on by yourself. DIY repair projects can reduce your downtime and avoid repair fees by simply ordering the replacement part needed and following our helpful instructional videos.
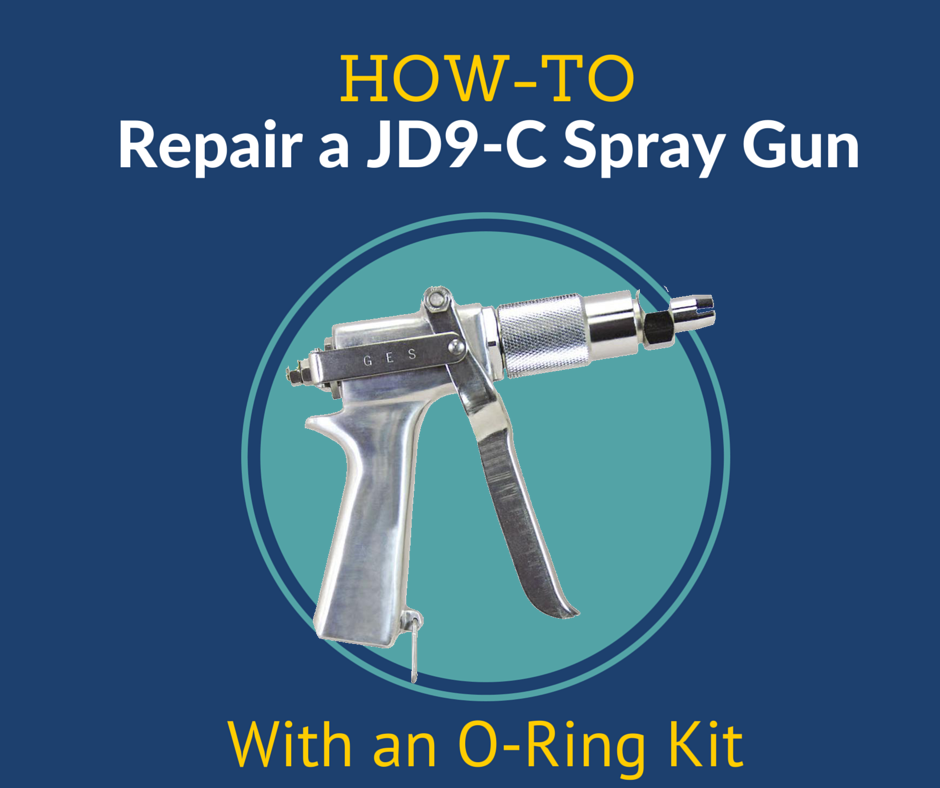
This time around we are featuring a spray gun repair. The Greensmaster JD9-C spray gun* comes standard in most of our Kings Sprayers. It’s one of our preferred spray guns due to it being great quality, heavy duty and able to achieve a maximum pressure of 800 psi.
If your trusted spray gun is suddenly leaking, replacing the O-rings will usually fix it.
For this project you will need the following tools:
Let's get started! Follow these steps:
Watch the instructional video below for an even easier guide to follow:
Topics: JD9-C Spray Gun, Spray Guns, Sprayer Depot, Kings Sprayers, Instructional Video, JD9 Spray Gun, O-Ring Replacement on JD9 Spray Gun, Sprayer Depot Instructional Video, Greensmaster Spray Gun

