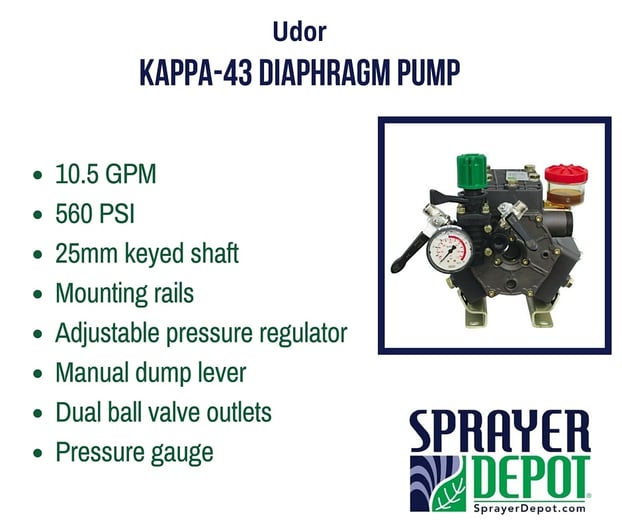
Udor Kappa series pumps offer reliable, high-quality and popular solutions when working with harsh chemicals. Due to their anodized aluminum construction, they are ideal for handling a number of common of professional chemicals, such as herbicides, pesticides, liquid fertilizers, de-icing materials, and other hard-to-handle fluids.
One of our top sellers is the Udor Kappa-43 diaphragm pump. This is a commonly used pump in various horticulture, agricultural, lawn care, nursery, pest control and turf spraying applications. Let's take a closer look at some of its best features!

Probably the most common issue we see with this type of pump is a diaphragm rupture. Fortunately, this is a pretty easy repair you can do yourself to save time and money. Continue reading below for steps on how to repair a Udor Kappa-43 Diaphragm pump and watch the easy instructional video that follows.
For this project you will need the following tools:
- A screwdriver
- Wrench
- 1/2" socket
- 11/16" socket
- Diaphragm kit (3 piston diaphragms, 6 sets of O-rings)
Let's get started! Follow these steps:
- Loosen the bolts on one of the 3 head assemblies
- Remove the head assembly
- Remove the diaphragm, nut, and washer
- Remove the diaphragm
- Remove the sleeve, and drain the internal oil
- Loosen the bolts on the 2nd head assembly
- Remove the head assembly
- Remove the diaphragm, nut, and washer
- Remove the diaphragm
- Remove the diaphragm sleeve
- Repeat this process on the remaining head
- Clean the inside of the pump with carb or brake cleaner
- Replace the sleeve, lining up the holes on the sleeve with the holes on the piston
- The diaphragm has a beveled side; this side will be pointing out
- Replace the diaphragm, nut, and washer; tighten with a wrench
- On each side of the 3 outer head assemblies remove the inside of the valve cage, replace the spring, small seat (beveled side down), and large metal seat
- Place the valve assembly back onto the head and replace the O-ring with a new one
- The other side has the same pieces in the opposite order
- Replace the spring, seat, and large seat
- Replace the O-ring with a new one
- Repeat this process on all 3 head assemblies
- Replace the head assembly
- Tighten the assembly skipping bolts in a clockwise pattern to evenly tighten
- Replace the piston sleeve on the 2nd side
- Replace the diaphragm with the beveled side out
- Replace the diaphragm, washer, and nut; tighten with a wrench
- Replace the 2nd head assembly, tightening the bolts with a wrench
- Using non-detergent 40W pump oil; fill the open side of the pump to the brim
- Replace the final piston sleeve, lining up the holes with the piston
- Clean off excess oil Replace the final diaphragm
- Replace the diaphragm, washer, and nut; tighten with a wrench
- Replace the final head
Do you have an instructional video you'd like to see featured? Let us know in the comments below.

.png?width=280&name=SameDayShippingGuarantee-New%20(1).png)


